Your Cart is Empty


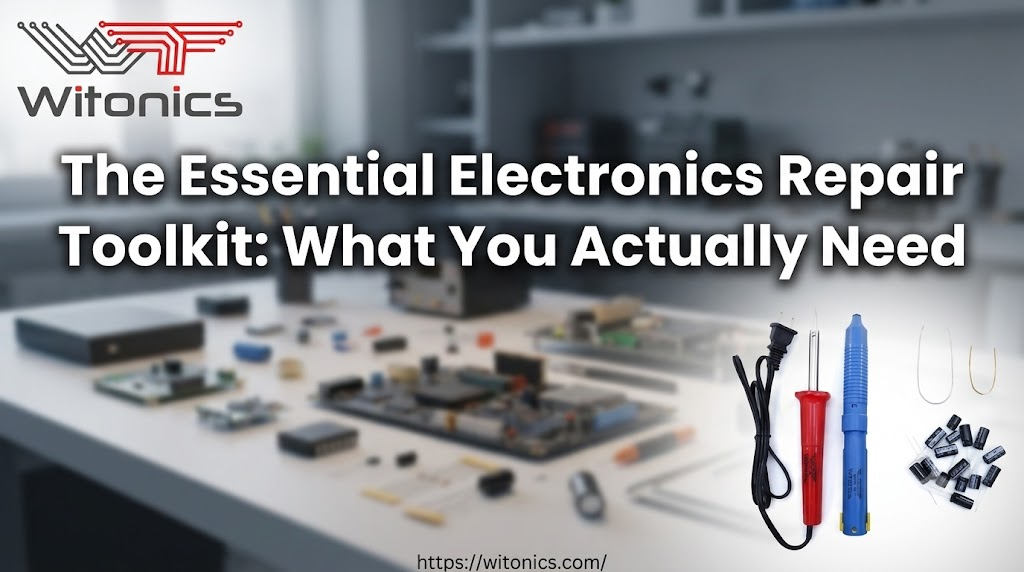

Watch enough repair videos and it's easy to think you need a professional workbench before you can fix anything.
In reality, most home electronics repairs, like swapping a fuse, replacing a capacitor, or testing a transistor, can be done with a small, inexpensive set of tools that fits in a single drawer.
Here's what actually earns a spot in a beginner'stoolkit and what you can safely skip until later.
This is the part actually causing most of the symptoms you're trying to fix. Electrolytic capacitors on a TV or monitor's power and inverter board sit right next to heat-generating components, and standard-temperature capacitors don't hold up long in that environment.
They dry out early and start causing pink dots, slow startup, flickering, clicking noises, or a screen that won't turn on.
A kit built around high-temperature-rated capacitors (typically 105°C rather than 85°C) gives you real headroom against the exact conditions that killed the original part, so the fix lasts.
Once the old capacitor is out, you need to attach the new one, and that's what the solder wire is for.
A 7-inch length is enough to complete a full capacitor swap, usually several capacitors at once, without running out mid-repair.
It's sized for the small, precise joints a board-level repair calls for, not the heavier soldering used on thicker wiring.
Before a new capacitor goes in, the old solder has to come off the pad cleanly, and that's where the solder wick earns its spot. It's a flat, braided copper ribbon that soaks up melted solder when pressed against a joint with a heated iron.
A 4-inch strip is plenty for clearing a handful of capacitor pads without lifting the pad or damaging the surrounding trace, which is the most common way a first-time repair goes wrong.
The iron is what makes the other two tools usable. A kit-grade soldering iron doesn't need to be a full soldering station; it just needs to heat up reliably and hold a steady temperature to melt solder cleanly without scorching nearby components.
For the occasional repair this kit is built for, that's the right amount of tool: enough to do the job well, without paying for capability you won't touch again for months.
After the solder wick has done the bulk of the work, a desoldering pump (a "solder sucker") clears out whatever's left in the through hole so the new capacitor's leads can seat properly.
It's a simple spring-loaded plunger; press the tip against the melted solder, trigger the release, and it vacuums the leftover solder out in one motion.
Between the wick and the pump, a board comes out clean enough that the new part goes in without a fight.
The part that ties the kit together. Rather than guessing at soldering technique or capacitor orientation from a random video, the instruction sheet walks through the repair in order: identifying the failed capacitors, discharging them safely, removing the old ones with the wick and pump, and soldering in replacements with the correct polarity.
For a first-time repair, having a written sequence next to the board matters more than any single tool in the kit.
Why This Combination Covers Almost Every Repair
Look at the list again and a pattern shows up: every item solves one specific step in the same repair: desolder, clean, place, solder, and guide, with nothing left out and nothing extra to store or lose track of.
A general electronics toolbox tries to cover every possible repair and ends up expensive and confusing for someone doing their first one. ATV and monitor repair kit is scoped to the repair you're actually facing, with capacitors matched to your board's brand and model so you're not separately sourcing parts, guessing at values, or ordering the wrong soldering supplies.
And if you're not yet sure a capacitor is even your problem,top 5 signs your capacitor needs replacement is worth checking before you order a kit.

Tools get you into the repair, but having the right replacement parts on hand is what finishes it. A small assortment of common fuses from ourglass andceramic fuse collections, a fewelectrolytic capacitors in commonly used values, and a handful ofresistors andtransistors and diodes will let you finish most small repairs the same day you start them, instead of waiting a week for a single part to arrive.
If you're repairing a TV or monitor specifically, ourTV repair kits are pre-matched to common board issues so you're not guessing at values.
Q: Why do repair kits use high-temperature capacitors instead of standard ones?
A: A higher temperature rating gives the replacement more headroom in the same hot environment, so it lasts longer.
Q: Do I need any tools beyond what's in the kit?
A: For most single-board capacitor repairs, no. The kit is built to cover desoldering, cleaning, and re-soldering in one set.
Q: What's the difference between the solder wire and the solder wick?
A: Solder wire is what you melt onto the board to attach the new capacitor. Solder wick is used before that, to remove the old solder still stuck in the holes.
Q: Is the desoldering pump necessary if I already used the solder wick?
A: Yes, they work together. The wick clears most of the solder around the joint, and the pump removes what's left inside the hole itself.
Q: Do I need soldering experience to use this kit?
A: Basic soldering experience helps, but the included instruction sheet is written for a first-time repair, walking through each step in order.
A capacitor repair doesn't need a full workbench ,it needs the right capacitor, the right tools to remove and replace it cleanly, and clear steps to follow while you do it.
That's exactly whatWitonics packs into every repair kit: nothing you won't use, nothing you'll need to go buy separately halfway through.
The Right Basics, Paired With Parts You Can Trust